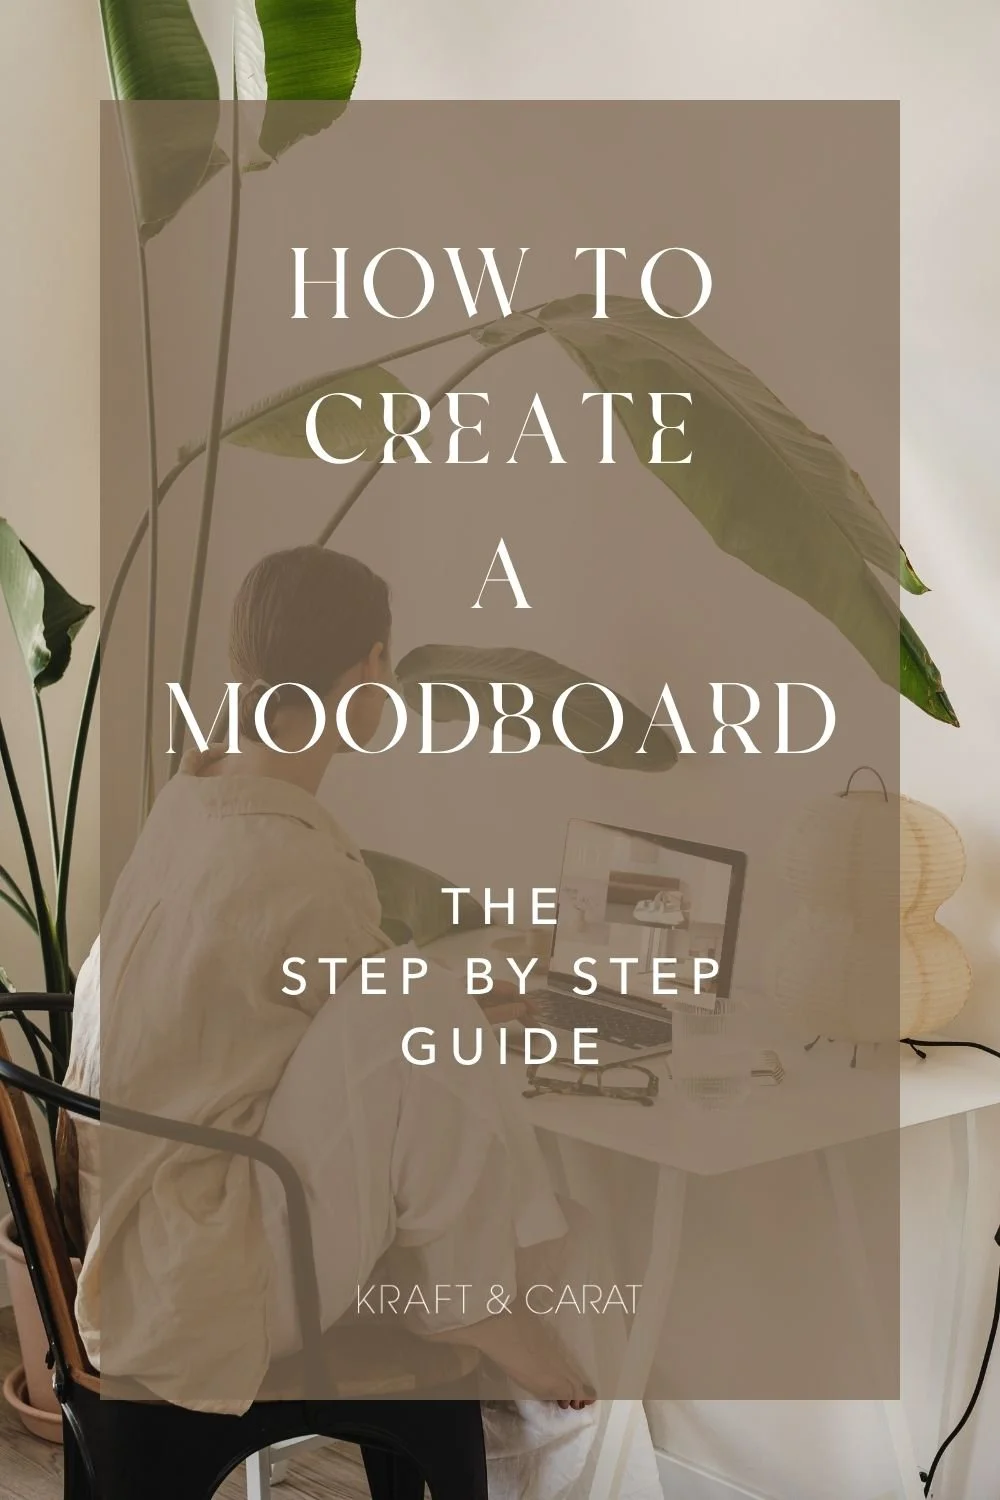
How to create a moodboard that actually works (for interior design & spatial projects)
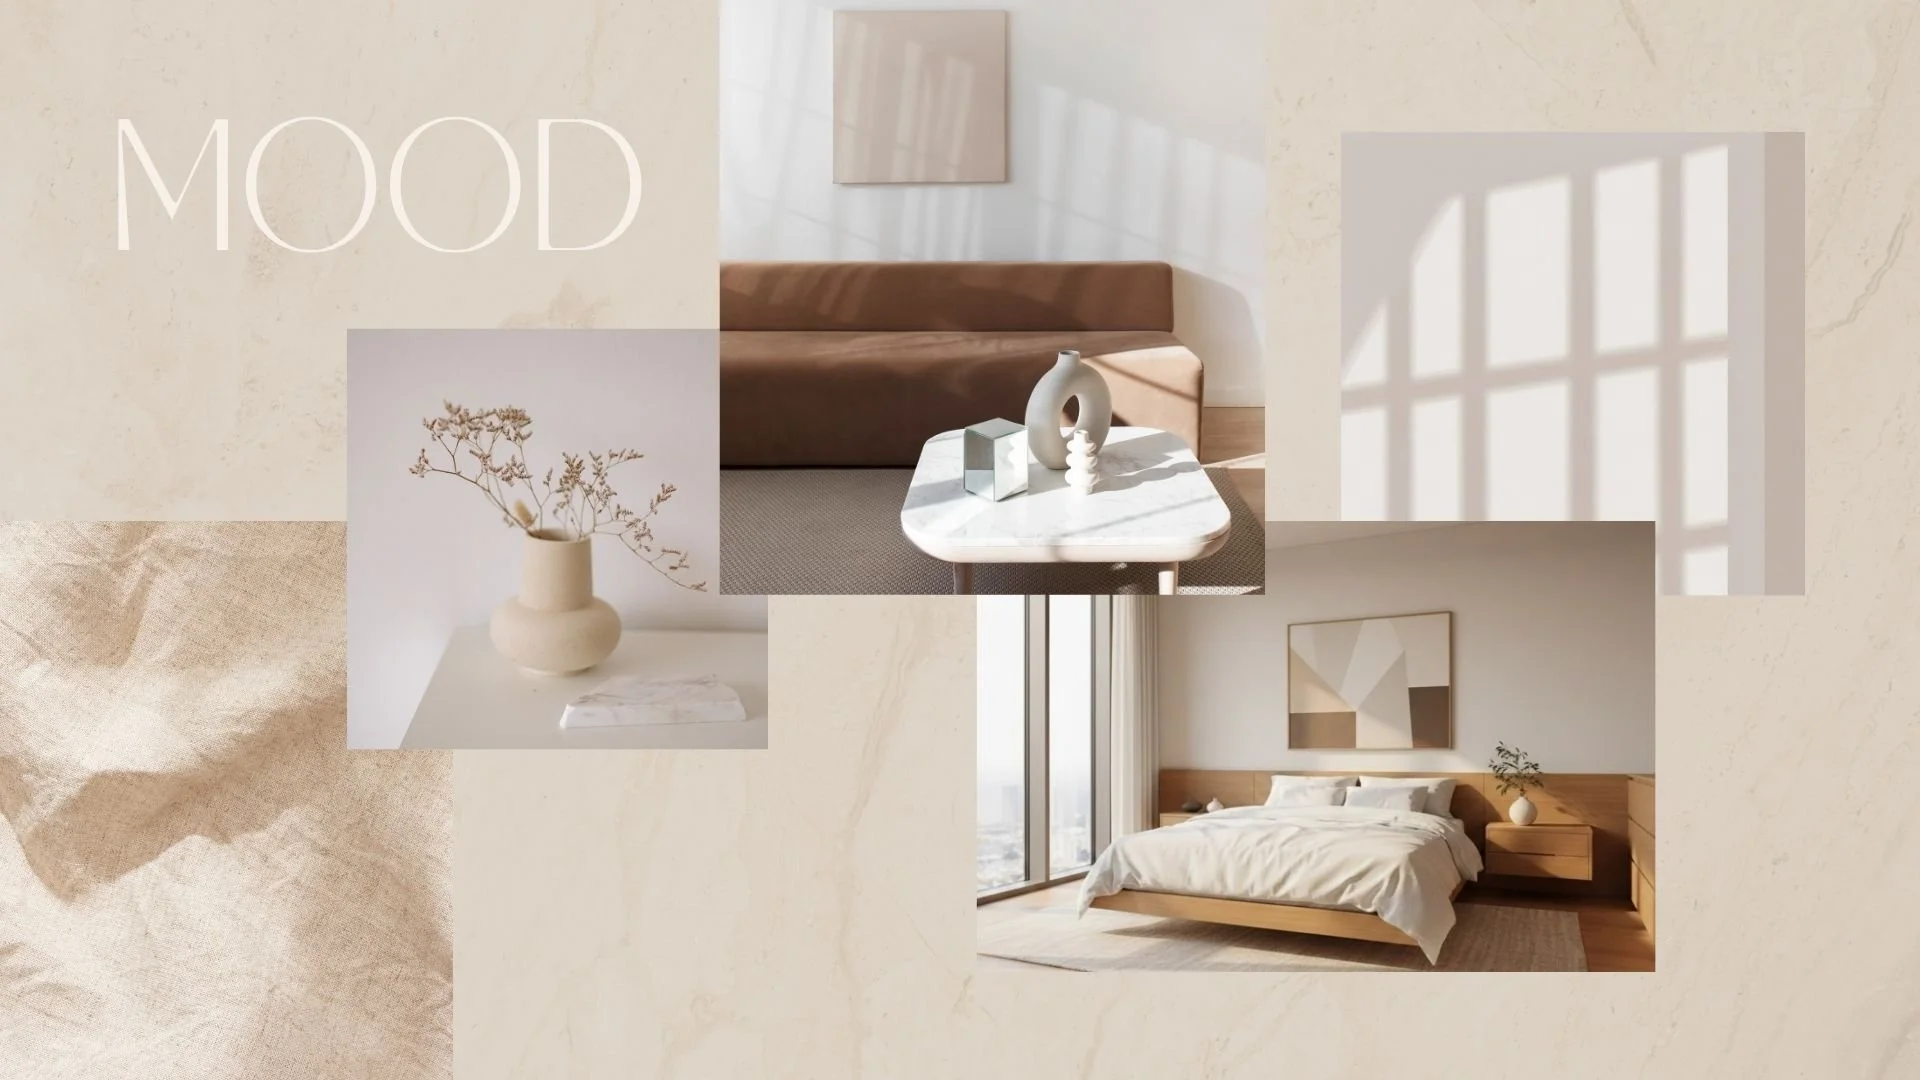
an interior design moodbord, with modern organic style
The blank canvas can be intimidating. Whether you are defining a brand identity, designing a a window display, curating a pop-up store scenography, or transforming a residential space, every successful creative process starts with one fundamental tool: the moodboard.
As a scenographer and digital curator, this is undoubtedly my favorite phase. But creating a board that is not just pretty, but actually sells your vision to a client, requires a specific methodology. Here is my step-by-step guide to mastering the art of the concept board.
In this guide, we will cover the 5 steps to create the perfect moodboard:
Defining the Narrative (The Compass)
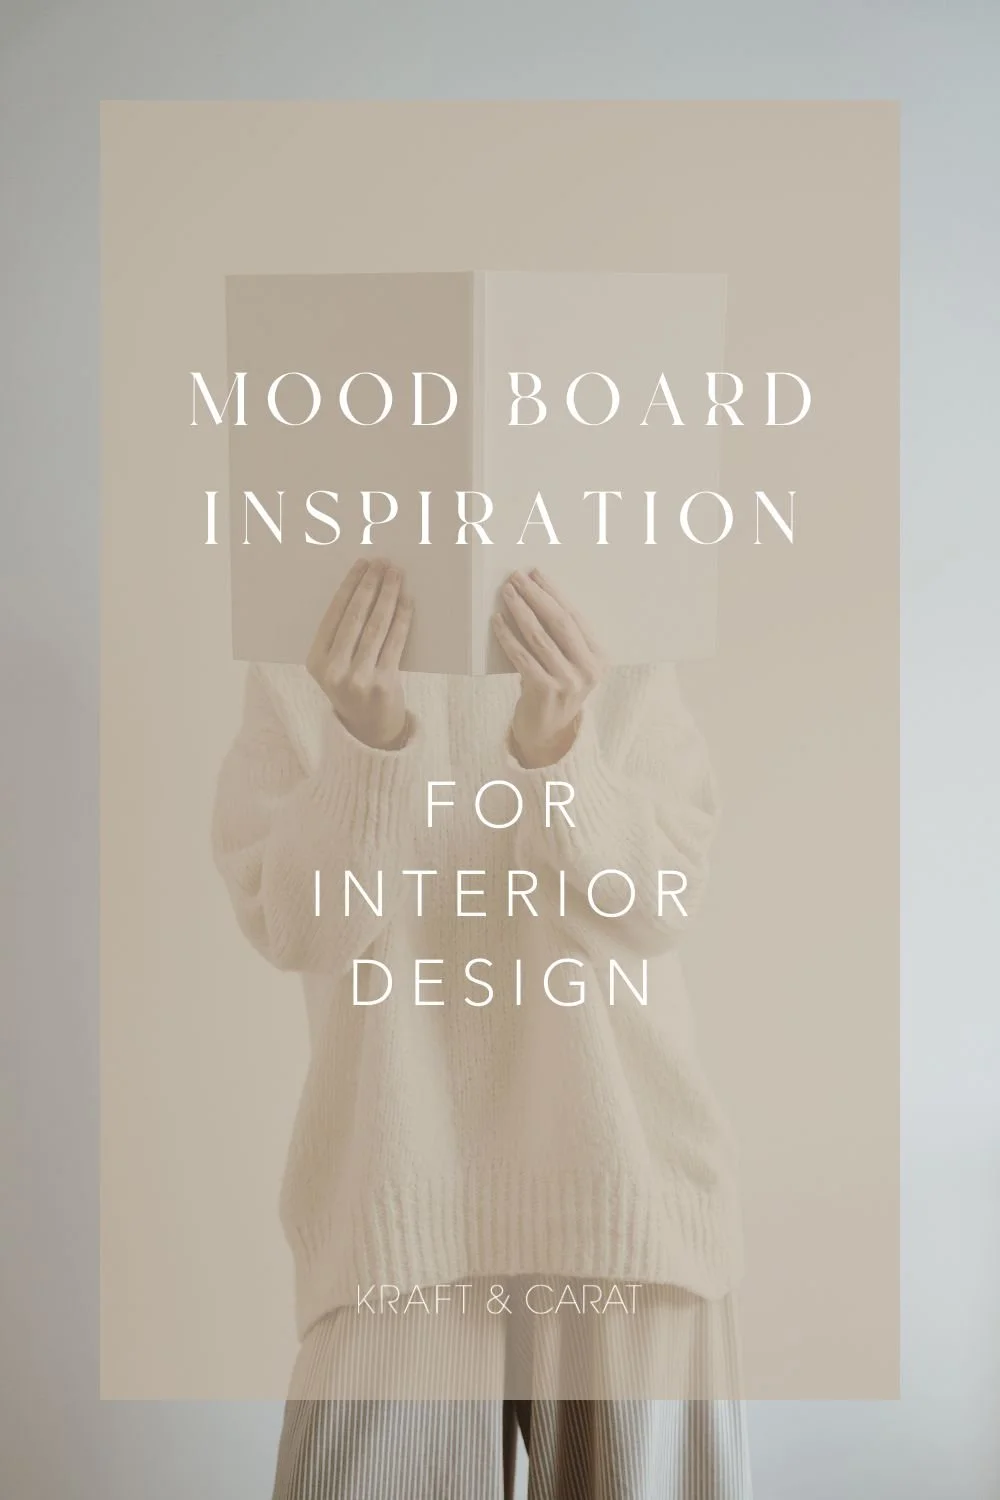
Sourcing Your Inspiration
Designing the Aesthetic Board
Selecting the Right Board Typology
Mastering the Client Pitch
STEP 1: Define the Narrative (Your Project Compass)
A moodboard is a simple visualization tool that centralizes the core aesthetic data of a project—colors, materials, and forms. Think of it as the "North Star" or compass of your design. It answers the fundamental Why? and will guide every future choice to ensure total cohesion. Before looking for images, ask yourself: What story am I trying to tell? What atmosphere do I want to translate visually?
STEP 2: Source Your Inspiration
A moodboard is not a literal shopping list; it is the visual translation of an atmosphere. The first question you must ask yourself is: What story am I trying to tell?
Inspiration can come from anywhere
A piece of music, a shadow on a wall, or a distant memory. Take, for example, Frank Gehry’s iconic Fondation Louis Vuitton in Paris. The initial inspiration? The billowing sails of a ship. If you look at Gehry’s very first rough sketches, they are chaotic, minimal, and abstract. You don't need intricate, hyper-realistic details at this stage. That simple sketch dictated the final, breathtaking architecture, which then translated seamlessly into Louis Vuitton’s retail window displays. One strong inspiration creates an entire ecosystem.
The Client Constraint
When designing for yourself, you have absolute freedom. But when designing for a client, you must operate within their brief. Many see this as restrictive; I see it as a creative anchor. Having boundaries actually prevents decision fatigue.
☞ Curator’s Tip: Once you have gathered a messy folder of loose ideas, step away. Go for a walk. Let it simmer for a few days. When you return, the disparate images will suddenly reveal a clear, underlying pattern.

from inspiration to realization, la fondation Louis Vuitton by Frank Gehry
STEP 3: Design the Aesthetic Board
Now that you know your direction, it is time to build the board. Start by dropping your images onto your digital canvas (like Canva or Illustrator) without formalizing anything yet. Let your eye do the work: do these colors harmonize? Are the forms speaking to each other? (Spoiler: half of your initial images won't make the final cut).
Structure Dictates Style
The layout of your board should reflect the story you are telling:
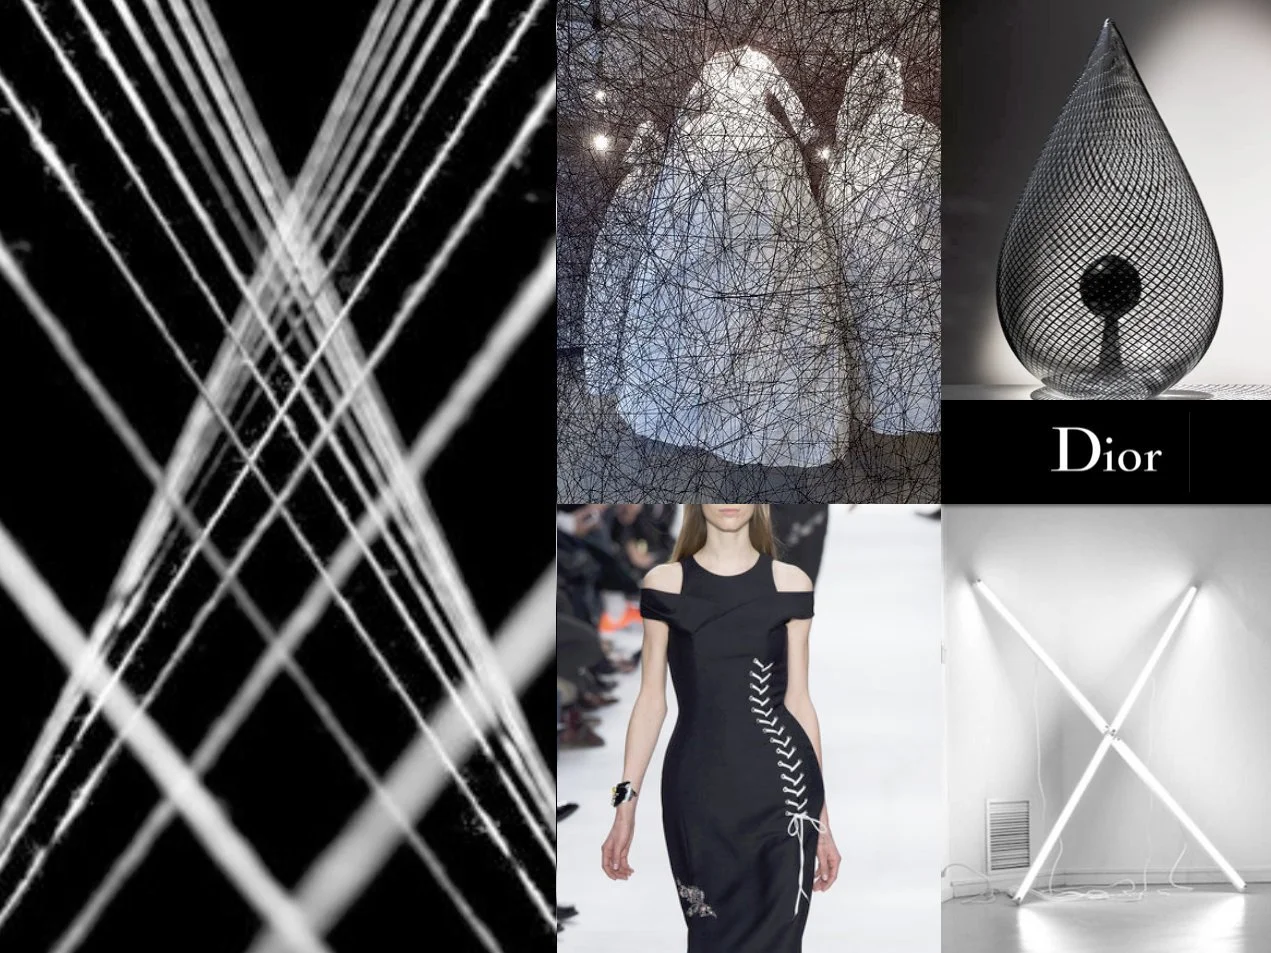
Minimalist: Use a very rigid, clean grid on a white background with an abundance of negative space and only 2 or 3 striking photos.
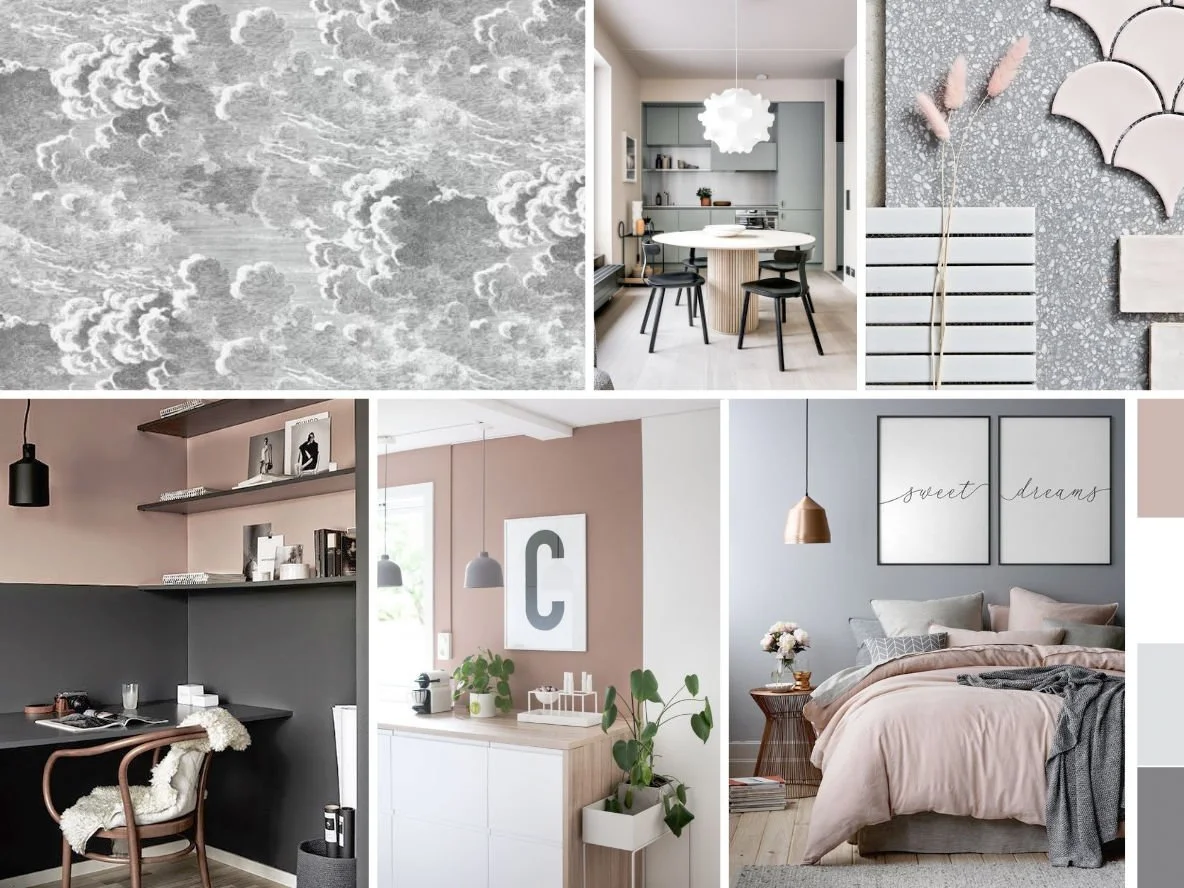
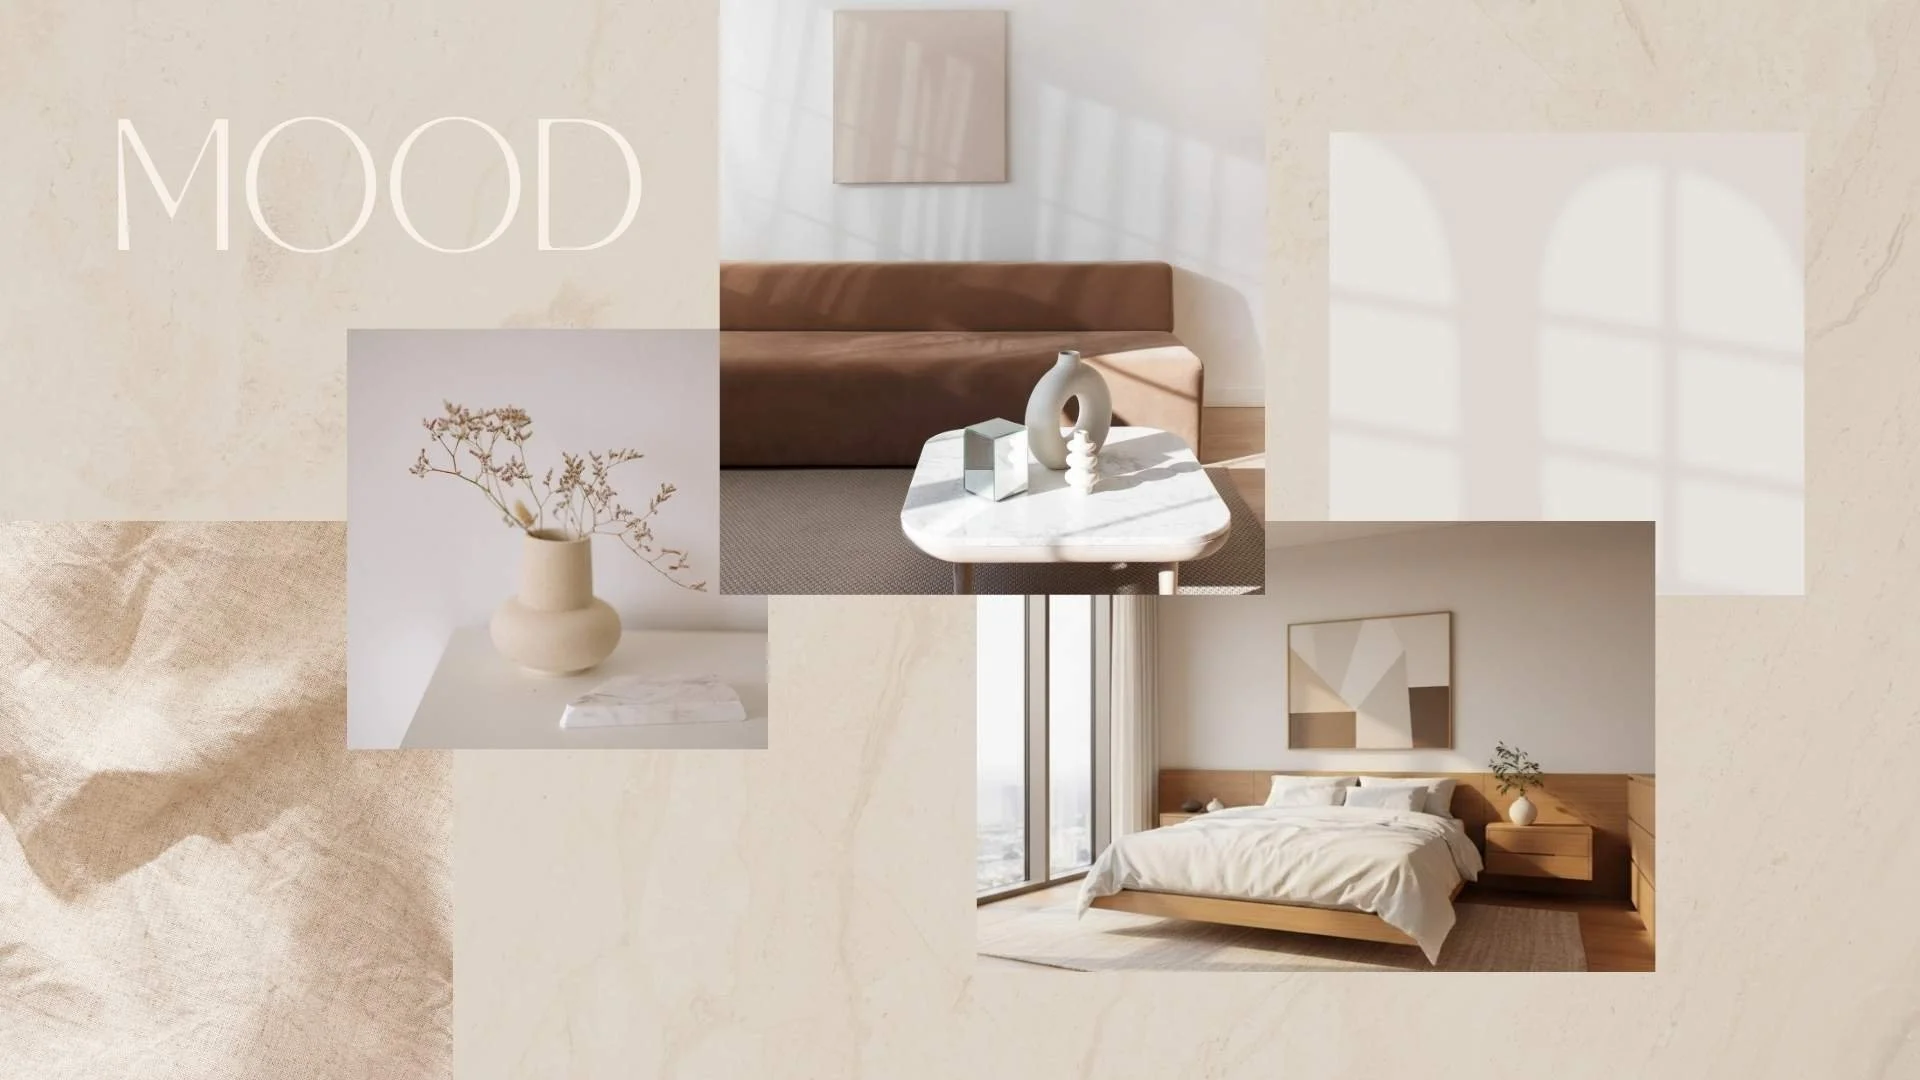
Organic Modern or Boho: Opt for an asymmetrical layout with overlapping, raw textures on a soft, neutral background.
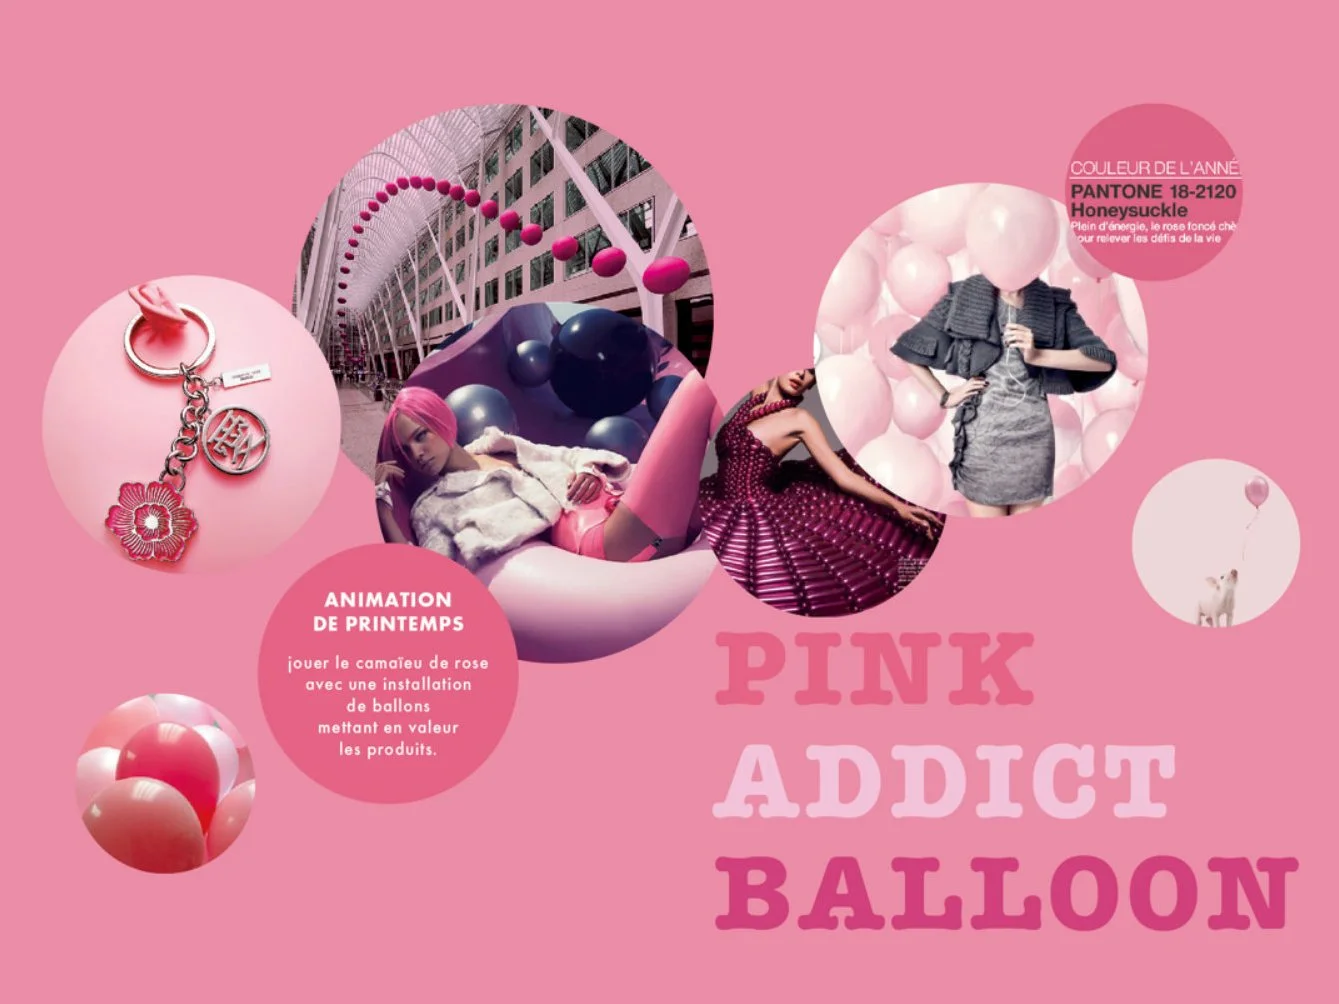
Maximalist & joyful : Choose a colorful and bouncing layout…
Color & Curation
Select 2 or 3 anchor colors for your project. Be ruthless in your curation. Limit yourself to a maximum of 10 images (ideally between 3 and 7). This is not the time to be exhaustive; you are just setting the tone.
Choose a font that reflects that tone
(Note on AI: While AI image generation is everywhere right now, I strongly recommend using real, tactile photography for moodboards at this stage, to keep the emotional connection authentic).
STEP 4: Select the Right Board Typology
In the interior design industry, it is crucial to distinguish between different types of visual boards. They act as a funnel:
The Moodboard
The cornerstone. Pure atmosphere, textures, and feelings. It rarely features the exact furniture you will buy.
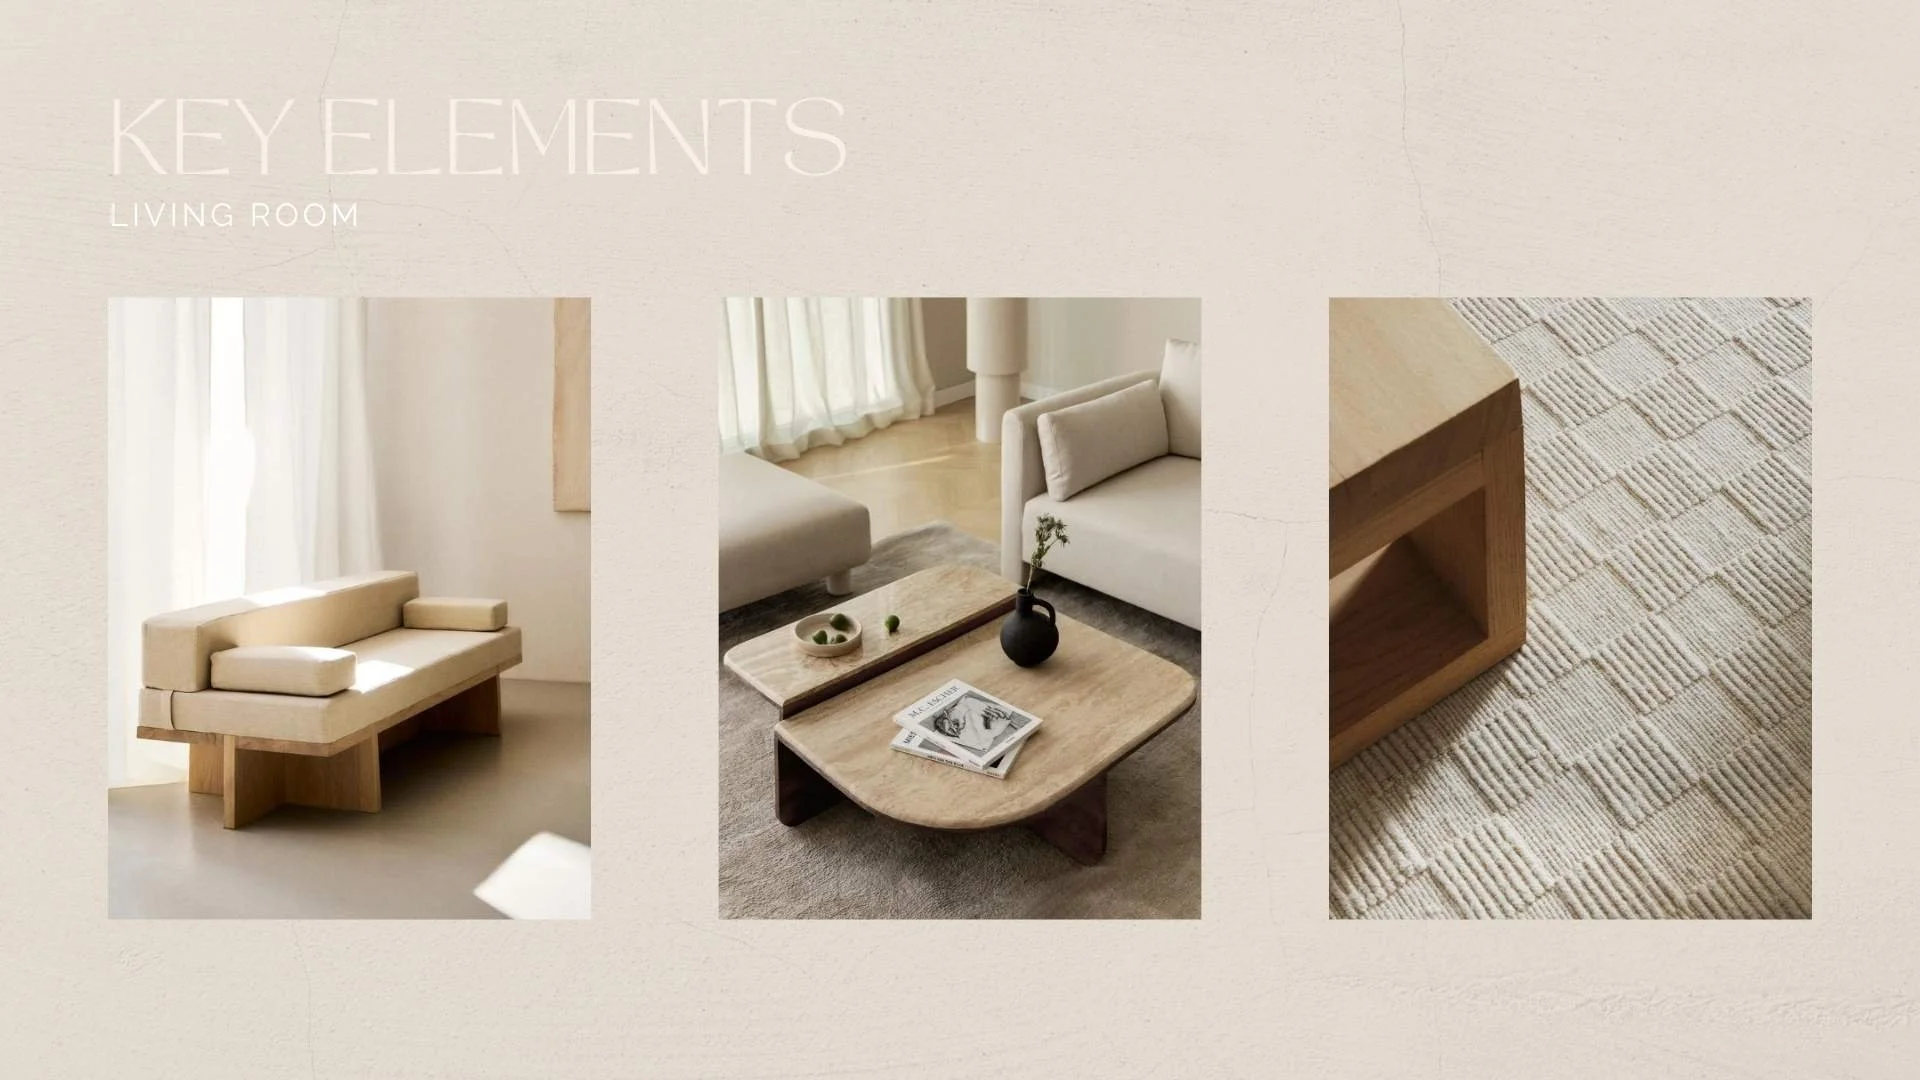
The Concept Board
A step closer to reality. It merges the overall "mood" with actual project elements (a specific sofa silhouette, a macro shot of the chosen fabric).
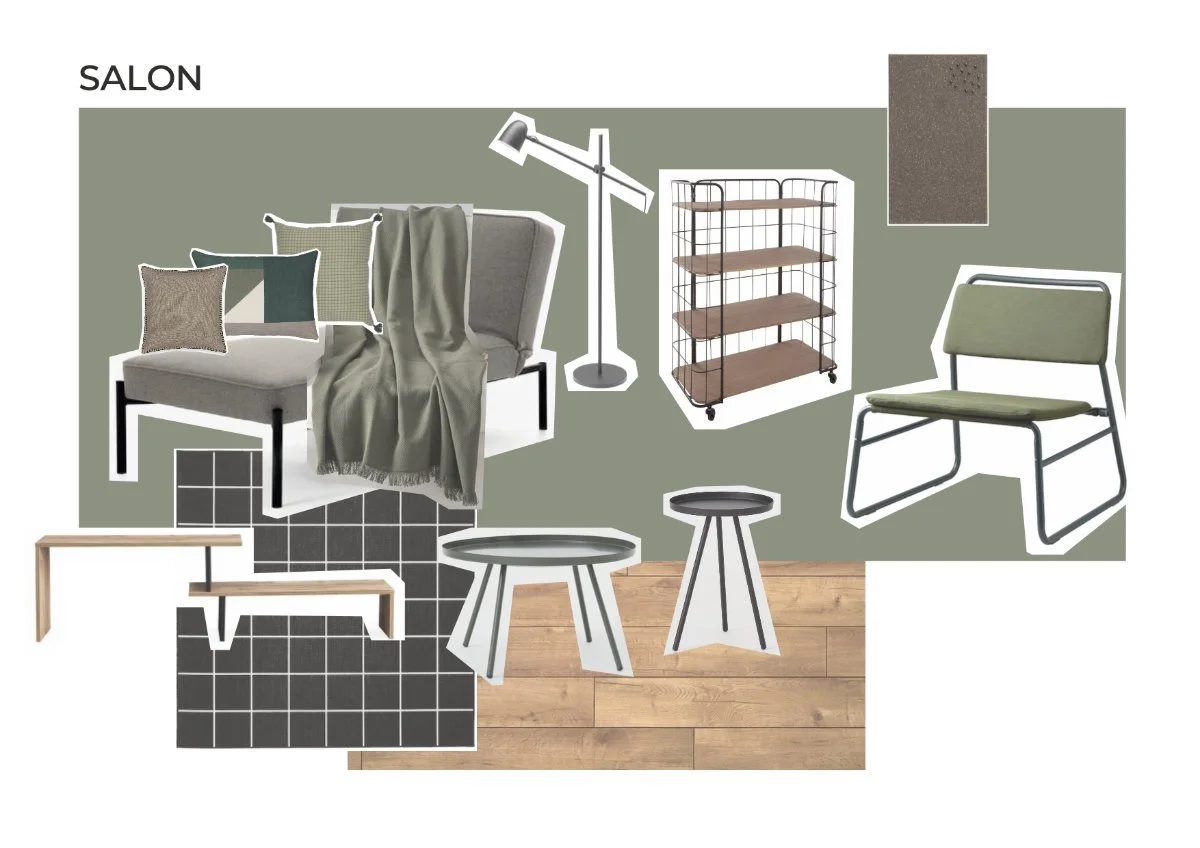
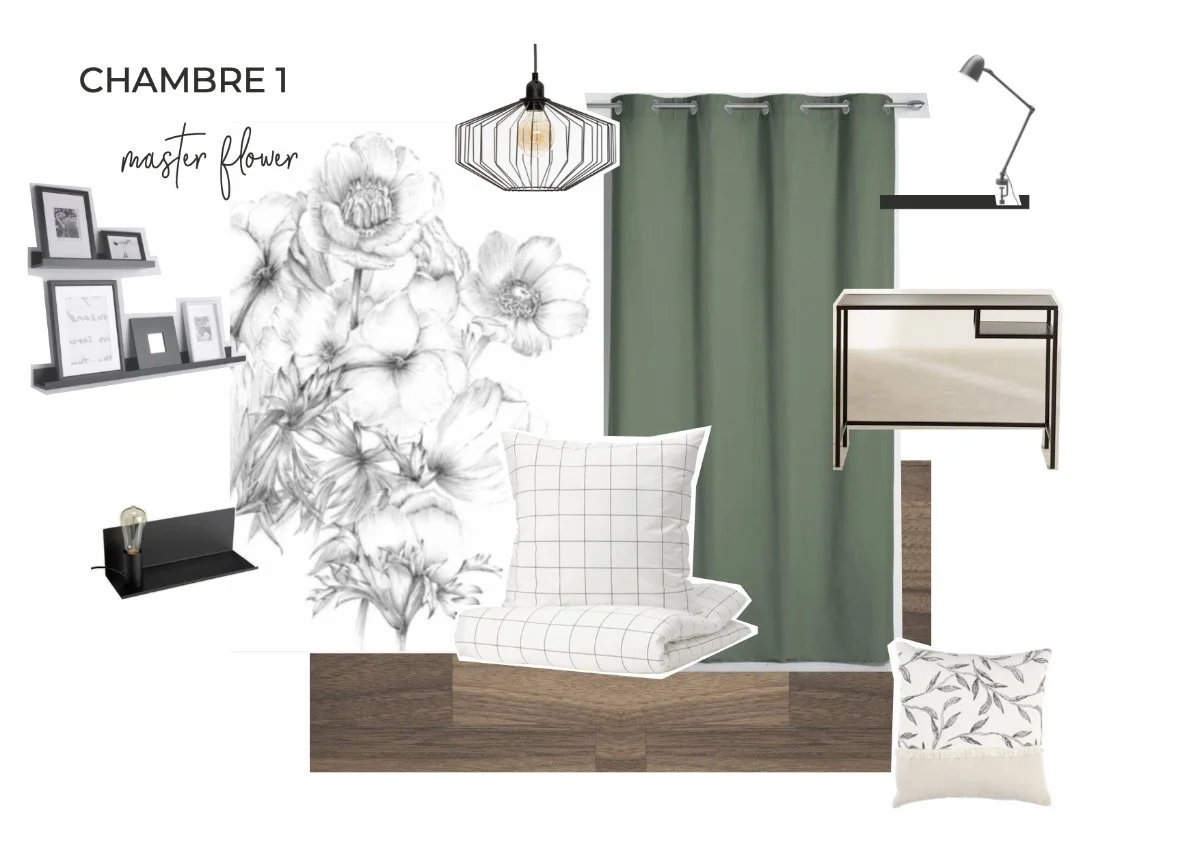
The Material & Furniture Boards
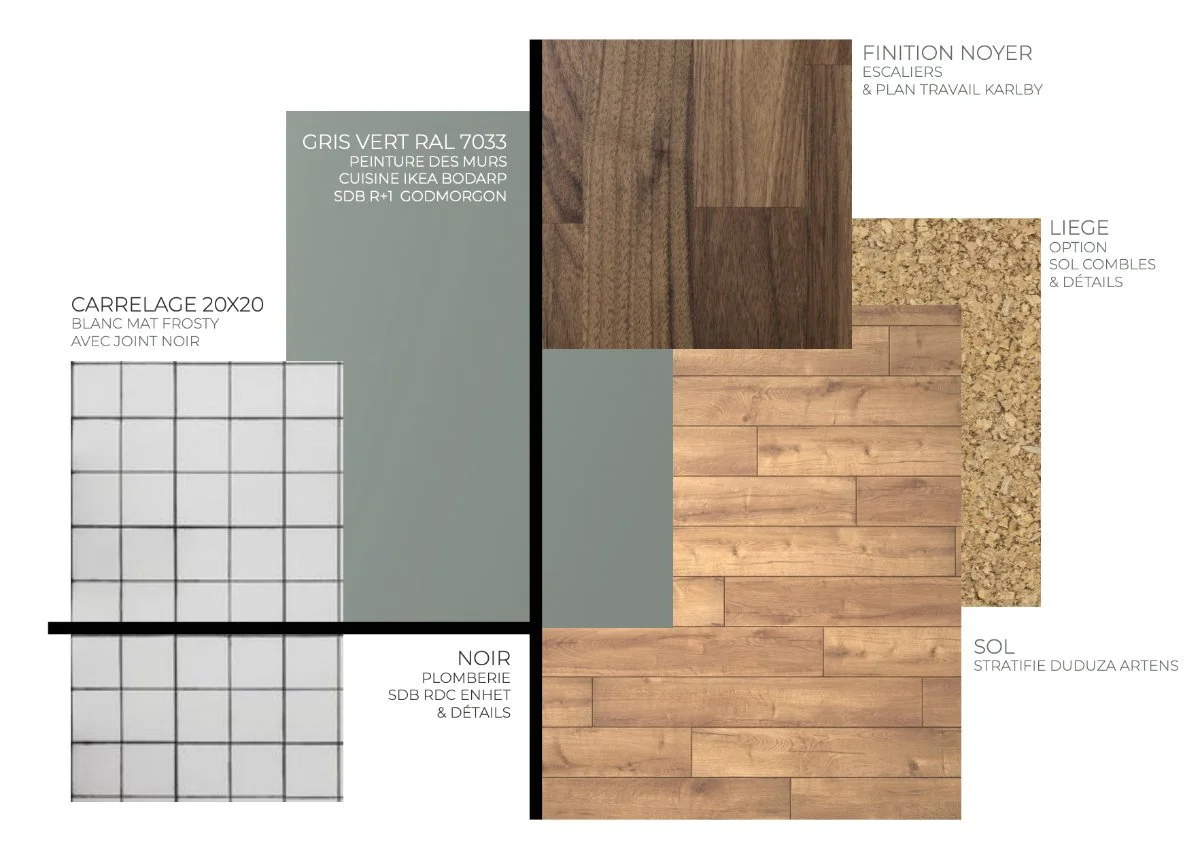
The execution. This is where we get concrete. These are practical reference tools showing the actual elements of the project (the exact tile, the chosen chair). They are highly useful not only for the client to visualize the final result, but also for contractors and service providers to execute the vision perfectly.
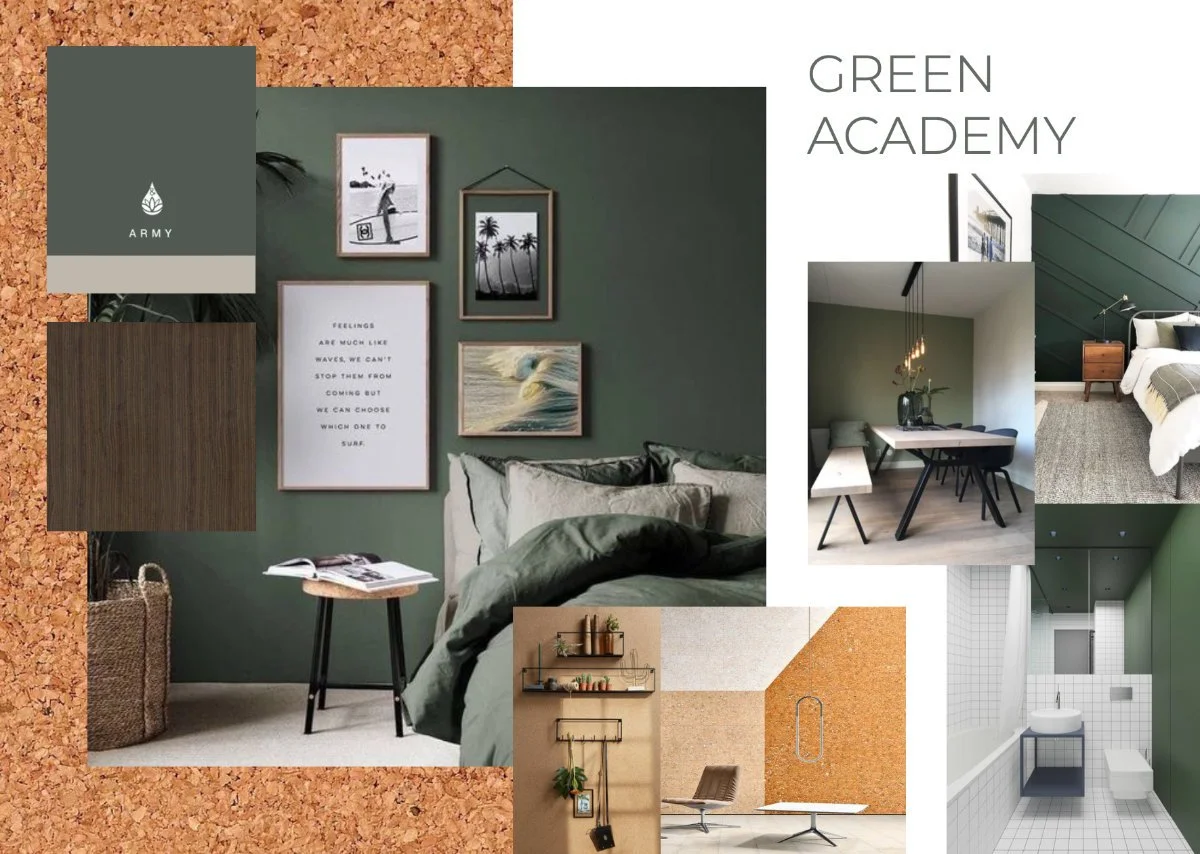
For a recent shared rental property project, I started with a simple concept board, then broke it down into a detailed material board with references, and finally, room-by-room furniture boards. You can clearly see here a cohesive look, inspired by the original mood/concept board.
☞ Need a professional framework?
I have translated my entire agency workflow into the Interior Design Moodboard Presentation Template. It includes pre-designed layouts for Moodboards, Concept Boards, Spatial Flow… so you can stop wrestling with graphic design and focus on your curation.

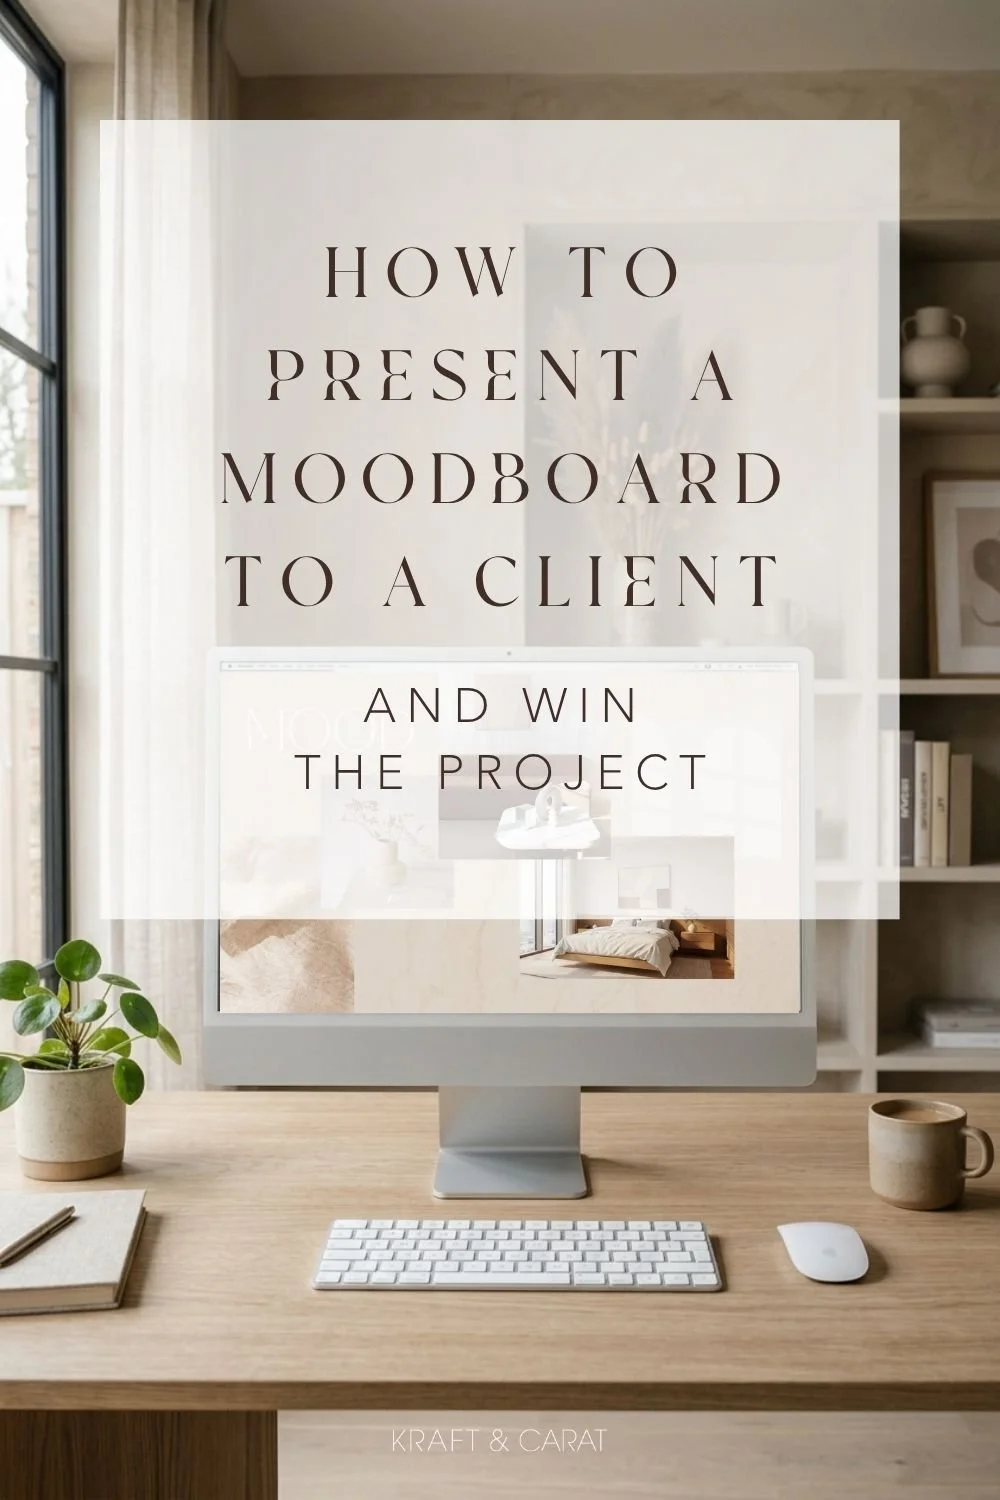
STEP 5: Master the Client Pitch
A moodboard is ultimately a communication tool. Securing client approval at this stage saves you weeks of wasted 3D rendering and sourcing time. Here are my top psychological strategies for a successful "Design Reveal":
Never Send it by Email: Always present live (in-person or via Zoom). You need to read their body language. A hesitated pause tells you more than an email reply ever will.
The "Echo" Effect: Always start your presentation by repeating the client’s original brief back to them. It proves you listened, making them immediately more receptive to your creative vision.
Explain the Why: Don't just say "Here is a blue sofa." Say, "I chose this velvet texture to anchor the room and contrast with the coldness of the brass lighting."
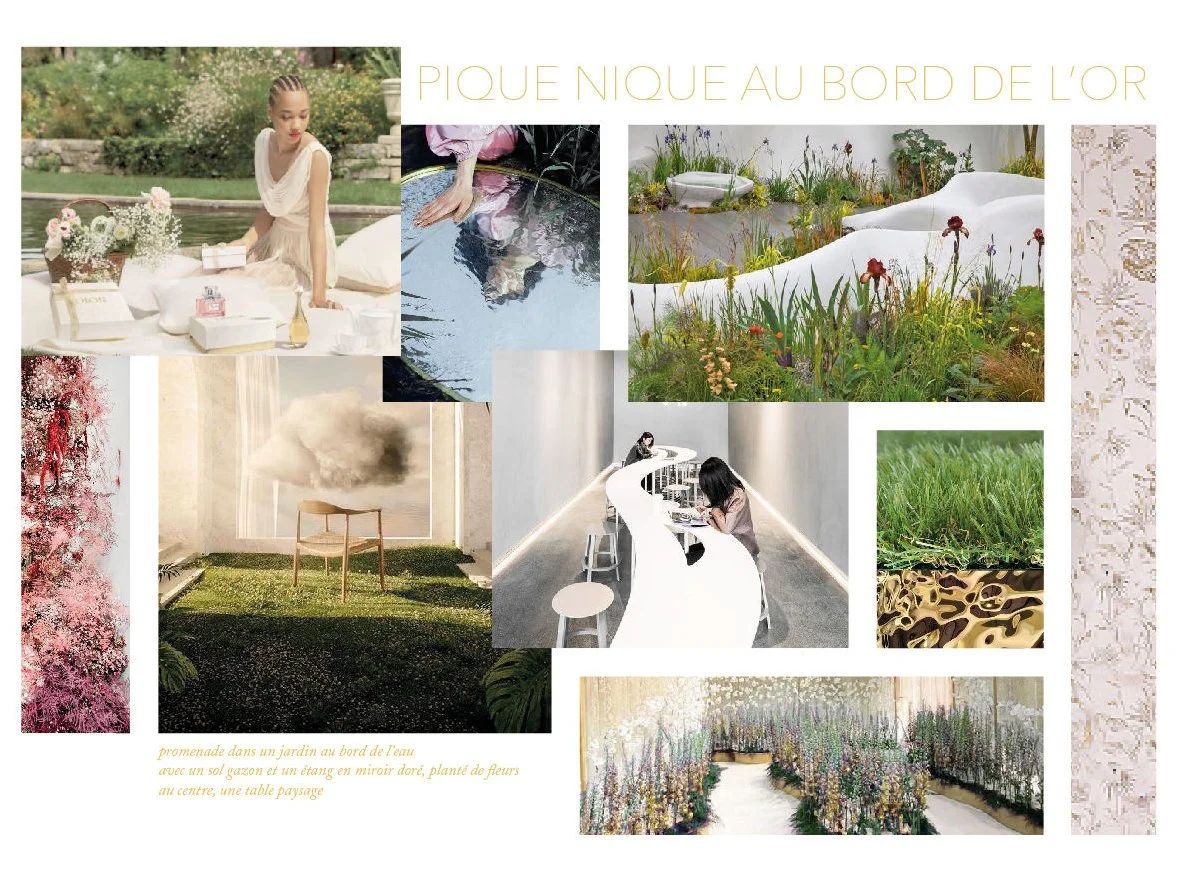
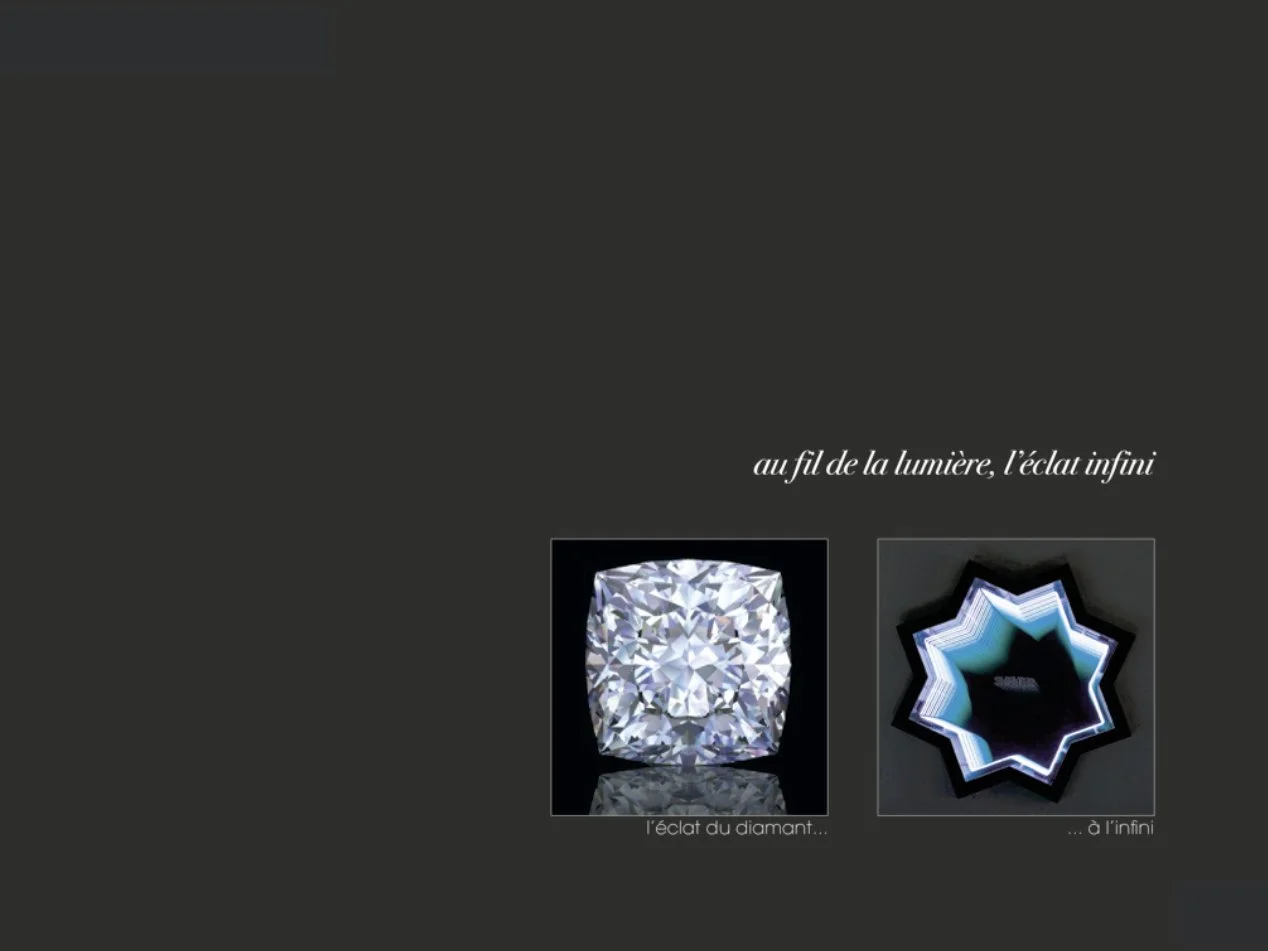
The Illusion of Choice: Tell one core story (one Moodboard), but present TWO execution options (two Concept Boards). For example: Concept A (Light & Organic) vs. Concept B (Dark & Moody). This shifts the client's mindset from "Do I like this?" to "Which one do I prefer?", guaranteeing a confident "YES" and preventing endless revisions.
Elevate the Digital Experience: If presenting on a screen, do not use a stark white background. Add a soft, low-opacity texture (like paper or concrete) behind your board. Add subtle Canva animations (like a slow 'Fade' or 'Rise'—please avoid the bouncy, chaotic effects!) to give your pitch a premium, cinematic feel.
Take control of the timeline by defining the exact next steps before ending the meeting. Searching for inspiration and telling a story is arguably the most beautiful part of our job, but remember: a well-structured concept presentation guarantees the success of everything that follows.
Ready to Present Like a Top Agency?
You know the steps, now get the tools. Stop wasting hours trying to align photos in blank documents.
I’ve packaged my entire scenography workflow into the Interior Design Client Presentation Template. It includes 12 strategic, pre-designed layouts (from Moodboards to Spatial Flow and Final Concepts), complete with pre-set realistic shadows and architectural placeholders.
Build agency-level pitches in Canva in minutes, not hours.